If you’re searching for a way to transfer all those old Mini DV tapes to DVD then this article is for you.
A complete walk through to give you an idea of what to do.
I have a more updated post which covers this topic as well.

Most Mini DV cameras only come supplied with standard AV cables. Yet they gave the option to transfer DV tapes via FireWire connection.
Problem is, the FireWire cable hasn’t been made since 2012. Funny how the standard RCA cables still exist today.
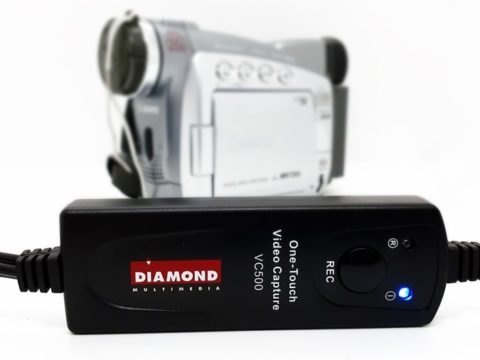
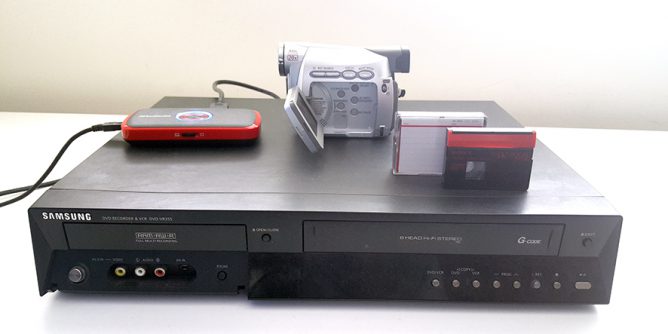
This camera was given to me with only the supplied cables which was the power supply and AV connector. So that’s what I’m using to copy.
Turn the camera power on and set to VCR or PLAY mode.


For this Mini DV transfer I have set the cables as follows:
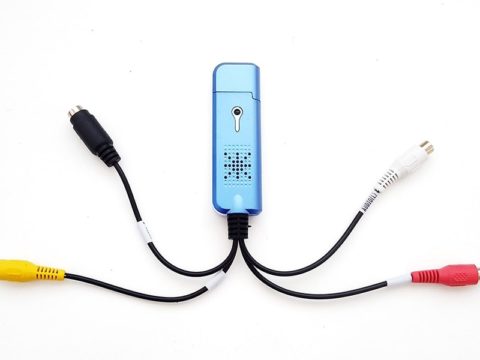
- Video camera cable going into the AV INPUT connection of the VCR.
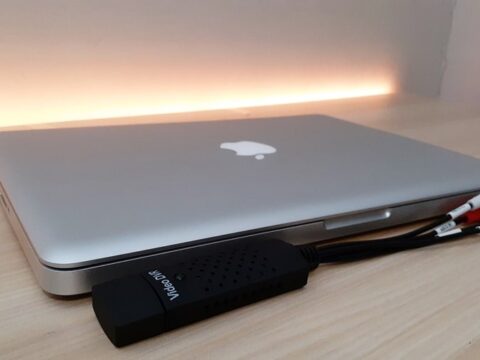
- The VCR output going into the HDMI INPUT of the capture card.
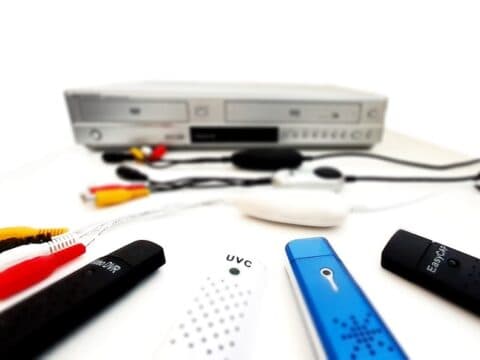
Sounds confusing but it’s simple enough. Check this post to read what capture card I recommend.

Once the connections are all set, I open RECentral software. Click the record button then hit play on the camera.
From here you’ll have to wait the full one hour (in this case) for the cassette to finish.
Editing Your Mini DV File

Once completed, the file will be saved in the designated folder. In my case it’s the ‘Videos’ folder.
There are all types types of editors that can be used for burning to DVD. Another video editor I have reviewed is Corel VideoStudio Pro.
This test I’m using Magix Movie Edit Pro.
It has a clean layout and is easy for beginners to use. You may go the path of a free video editor and a free DVD software. That works as well.
A lot of people have a fear of using a video editor program. They are not complicated. In my opinion, this tool is your Mini DV tape converter.
The only things you need to know when it comes to basic editing is importing a file, trimming the video file and exporting the file into either a DVD or MP4. (Those are the export files I use).

When the program begins, it will prompt to create a new project or edit a previous project. I’m creating a new project so I set the movie settings in the drop down options then click on the blue create project.

From here I have to find the file to import.
I find it quick and easy if the folder is already open and ready to drag onto the timeline. Most editors will let you do this.

Along the timeline the file can be seen. The whole length goes for one hour.

The highlighted box shows the playback marker, which can be moved left or right whilst holding down the left mouse button.
This tool is found on all editors showing you the playback time.

Holding ‘Alt + ‘ and any numbers 1 – 5, will expand or shrink the timeline making it easier for edits. The above example I have moved the marker to a point where I will cut (or splice) the timeline.
For Magix editors, the ‘T‘ button allows for cutting the video.
All unwanted footage needs to be highlighted and deleted.

Exporting Mini DV To MP4

Along the top right hand corner are three settings. From left to right they are:
- Editing Window
- Burn To Disc
- Upload/Export

By clicking on the Upload/Export button, a new window will open. Three new options are:
- Output as video file.
- Export to a mobile device
- Upload to internet.

For this example above, I’m going to export as video file.
Magix Movie Edit Pro does simplify the output options only allowing you to mix and match between Web, DVD, High Quality 1 (720) or High Quality 2 (1080).
File containers are limited to three options which are, Windows Video (does anyone use that?), MPEG-2 or MPEG-4 (which is MP4).

After selecting the output options you would prefer (for this example I chose 720 MP4), click on save video, select the folder you want it saved to and wait for the digital file to convert.
Depending on your computer and original Mini DV file size, this process could take an hour. You could edit four hour long cassettes into one giant file if you wanted. It’s up to you.
Mini DV to DVD
Using the same edited footage as the example, click on the DVD symbol in the upper right corner.
A new window will show the DVD options.

The window in the middle shows the home layout of the DVD menu. Now this can be edited to be as simple looking (like above) or extremely complex with sub menus and chapter selections.
I only do home videos with the simple and easy menu.
By clicking the image in the center twice with the left mouse button, a new menu will open.

Within this menu you can change the title of the menu. Change the font type and size.
Along the right hand side you can change the opening picture that will show on the menu. The timer allows you to go through the whole movie to find the perfect picture.
If it’s a wedding, I like to show the bride and groom saying their vows.

After selecting the new title and menu picture, click OK then click on the disc ‘Burn’ image.

Three options will appear. Click on DVD.

There are encoder settings you can tinker with to maintain quality, but generally I don’t.
From here you can click on the Burn disc button and Magix will proceed to burn the disc. Again depending on your computer, the process can take over an hour (especially if the footage is two hours long).
When burning to DVD use DVD-R. They work on most DVD players and don’t have issues.
Conclusion
This guide is an example of converting Mini DV tapes to DVD. You might choose using free alternative capture cards or another editor. The process will be very similar following these steps.