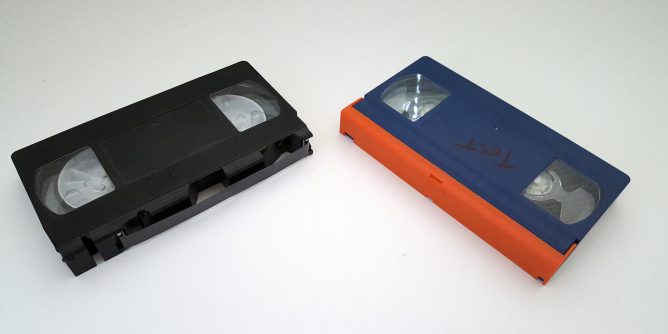
Ever found yourself needing to repair a broken VHS cassette? Rest assured, this post will guide you through swapping a broken cassette over to a working cassette.
Sometimes, the cassettes themselves will break, whether it be from being dropped or the plastic casing just deteriorating over time. The actual magnetic tape itself could be fine and free from any mold. Before we can transfer VHS to digital, swapping the tape over to a new cassette case can be done with minimal fuss.
In this example the black VHS cassette had been broken and had a spring rattling around inside. The customer wanted the footage so it was just easier to swap the VHS cases over.
You might think that it wouldn’t be worth the hassle, but these are important memories recorded on an out dated format that can’t be replaced. Swapping the VHS cases at least makes transferring to digital that much easier.
Before you get started you’ll need a Phillips head screwdriver. The screws can be quite tight so make sure your screwdriver has a decent handle on it.

STEP ONE: With this customer cassette, the top lip had snapped off and plastic parts had slipped inside rattling around.
Flipping the VHS tape on its back , proceed to unscrew at the five points circled.

STEP TWO: Undo the screws from both VHS cassettes so you ready to swap the reels the flip the cassette over.


STEP THREE: Carefully lift the top layer of the VHS cassette shell. You want to raise it up gently as to not knock the small plastic hinges next to the reels. It is definitely ideal to be doing this on a flat surface. I would recommend to take your time raising the top half of the cassette.

Pieces to look out for when prying apart the shell are circled below. These pieces are the tape guides and rollers which can drop out very easily.

STEP FOUR: At this point we could easily just swap the VHS cassette shells and just screw it back into place without having to take out the reels
In this particular case we’re going to swap the reels over.
By pressing the white lever along the bottom allows you to easily lift up the plastic reel.

STEP FIVE: Lifting the reels gently upright will allow you to remove them from the base of the cassette.

STEP SIX: Now that we have the reels off the base it’s time to swap them over.

STEP SEVEN: When replacing the reels onto the new base, I prefer to place the magnetic tape between the rollers and plastic guide first. This isn’t mandatory – just my preference. The white plastic reels will usually drop into place without any problem. It’s the threading of the tape that takes the time.


STEP EIGHT: Carefully replace the left hand side tape between the plastic guide and metal roller. There is a tiny plastic flap that can sometimes pop out as you thread the cassette tape over the rollers. It can easily be slipped back into place.


STEP NINE: Make sure the reels are snugly placed between the sprocket wheels and wind them to tighten the VHS tape.

STEP TEN: Replace the front half of the VHS cassette shell into place. Flip it over using both hands and proceed to screw it back together.


The only time things could go wrong is if the metal rollers and guides drop out while lifting out the reels. I’ve found that having a spare VHS cassette that you can open to study makes life easier when replacing any parts that pop out.
Taking the time to do this procedure can save losing a precious wedding video or birthdays or any number of important family gatherings that were recorded long before we started using our phones. To find out what you’ll need next to transfer your video, click here to read on.

