The older JVC Everio camcorders were definitely a popular brand but they did have one issue that many consumers found difficult which was to transfer the video files.
A problem that can occur with older video camera transfers is that you will come across cameras which required (at the time) their own software to make a DVD.
That’s not the case these days as more software converters and video editors can read a multitude of video formats.
But if you have an earlier model camera and you did wish to still use the JVC software you could visit here.

Transferring your home videos from a HDD camcorder doesn’t require the manufacturer software to burn to DVD or convert into MP4.
A Simple Test
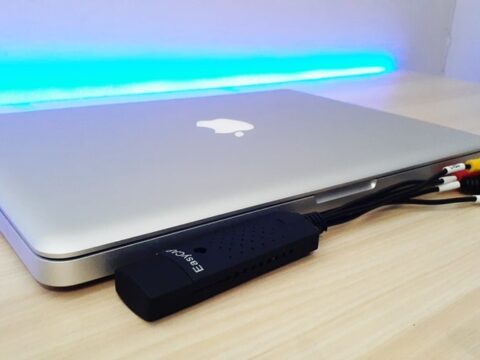
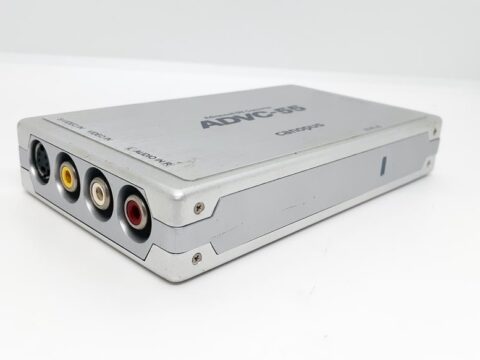
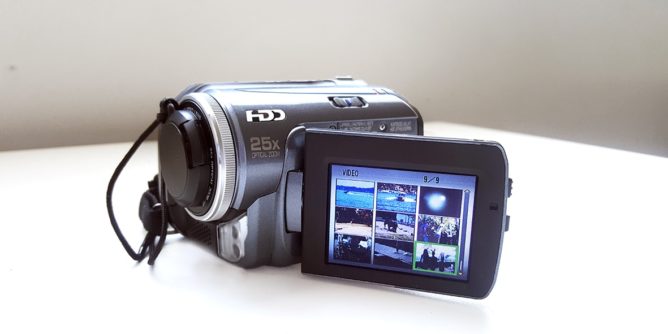
As a test I decided to see what the result was using a capture card method.

By plugging in the AV cable, we can try the usual method via AverMedia capture device, but with these types of HDD cameras I certainly don’t recommend it.
If you would like to read more about that capture device you can read my post here.

Although unnecessary, I captured one of the clips to see what the result would be as a comparison.

The results show the camera’s information icons, so no-one would sit through an hour and a half of home videos with those images blocking the view.
Copying the Video Files
In order to connect the camera to the computer a MINI USB cable is needed.


Connect the cable to your PC, the camera will connect as a mass storage device.

Once the camera and computer are connected, it’s time to go to the computer and open the drive letter.

Once connected to the computer, the camera will appear as a removable hard drive with an assigned drive letter.
This camera was apparently used to store a Music folder. Just for the record, there is no Music Folders inside JVC Everio cameras.
The folder that I will be converting is inside the SD_VIDEO folder. The SD stands for Standard Definition.

In this example there is approx 4GB of video files.
I’ll copy the files to the computer hard drive in a new folder as this makes editing much easier and eliminates any possible USB disconnection.
Regardless of which software you use to edit your videos, you will have to import/copy them to your computer hard drive.

Once copied to the computer, I open the folder to see the files.
They may appear like the picture above. If that is the case, choose to sort the folder view by type to make it easier.

We are only after the video files. These files have a file extension called .MOD. The example above shows the videos after the white plain files.

The annoying thing about MOD files is that you can’t just copy them to your phone or tablet and expect it to play.
Downloading the excellent and free VLC PLAYER will allow your computer to play these .MOD files.
But that is only for playing the clips.
Editing the MOD Files
So what if you want your holiday memories as one continuous DVD or MP4?
You will need a video editor to display the clips and edit. Most video editors have a function to allow you to burn a DVD disc.
My favorite video editor is Magix as it allows for simple use and reads a crazy amount of video codecs.
You can read my post about what I think of Magix Movie edit Pro. Magix make it easy by allowing you to drag the MOD files directly onto the timeline.
No converting before hand. Brilliant!

Depending on how many clips you will import, you could spend time editing each one as needed. In this example I don’t need to do that so i’ll import the whole folder.

All video files have been copied onto the timeline.
How long it will take to transfer will vary depending on how many files need to be imported.

All clips will show on the same time line.
Because this video doesn’t need editing, I’m keeping them as is.

Individual clips will have their own marker, which will allow to skip to the next scene using the DVD player remote.

The blue flags indicate all the separate clips.
This isn’t compulsory but it gives a better experience when you’re able to skip forward and back when desired.

I click on the BURN icon and Magix will tell me how much space the clips will take on the disc.
I continue with the burn process by clicking on the miniature disc icon.

So at this point I will wait for the video to burn to DVD. The time can vary depending on how powerful your CPU is.
This method allows you to burn a DVD from the JVC Everio cameras if you don’t have the original software.