As far as editors are concerned, I have always been a long time user of Magix Video Editors. The layout and ease of use make it simple to get a project completed in one session.
I’ve been able to teach a work colleague (who doesn’t do editing of any sort) how to use a video editor, using Magix as the training editor.
Heck, even my ten year old son edits on my old computer making videos using an older version of Magix Video Pro.
What I’m saying is this software is easy to use – with minimal effort – to get effective results.
So who is Magix?
They’re a German multimedia software company that have expanded world wide and create a vast amount of photo, web design, music and video editing software.
In 2016 they bought out Sony Vegas (amongst other Sony software properties) and continued to release the Vegas Pro editing properties, improving with each year.
Two reasons I bring that up is that one: Vegas Pro and Adobe Premiere have always been seen as the two professional pinnacles in video editing, so it’s good to see that Vegas is in great hands with Magix and didn’t go extinct.
And two: owning such professional software allows them to integrate elements into their other various video editors.

That’s what we have here with Movie Edit Pro Premium, a high end consumer video editor that will allow you to capture and edit with ease, cut out unnecessary clips and footage, balance and adjust audio, add effects, adjust color and burn to DVD or export as a digital file.
Move Edit Pro Premium is broken up into three components which I will elaborate into further. They are the Preview Monitor, Media Pool/Content and the Timeline.
Preview Monitor Walkthrough
The preview monitor will allow you to watch the current clip or footage being played.

Simply dragging a clip onto the timeline will allow you to see the very first frame of the footage.

There are keyboard shortcuts for playback or skipping back and forth through a clip, but tapping the SPACEBAR will play and pause a clip.

Along the top of the Preview Monitor starting from the top left are:
DROP DOWN TOOLBAR – This quick menu will give you the shortcuts that you can use for the monitor itself.
TIME FRAME COUNTER – When you scroll through the footage, you can check here for the accurate time frame.
CLIP NAME – At the very top you is the project name.
CLIP LENGTH – The complete clip length is displayed here.
There is an option to expand the monitor to be full screen in the top right corner.
Under the Preview Monitor from left to right are:
RANGE POINTS – You can change the start and end of a segment you want to watch to save you scrolling to an exact point. You can also play the selected RANGE segment only.
PLAY – when selected will play the entire clip from the beginning.
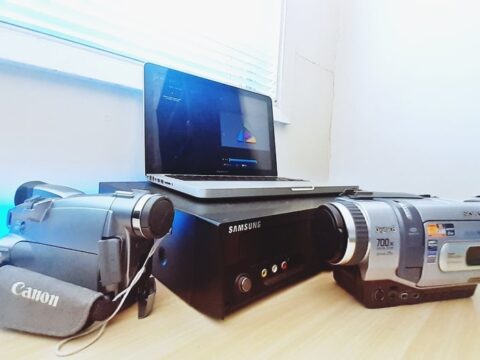
RECORD – The big red button when selected will open a new window.

This will allow you to record from a variety of sources.
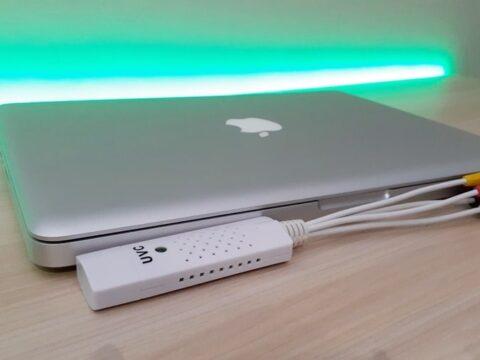
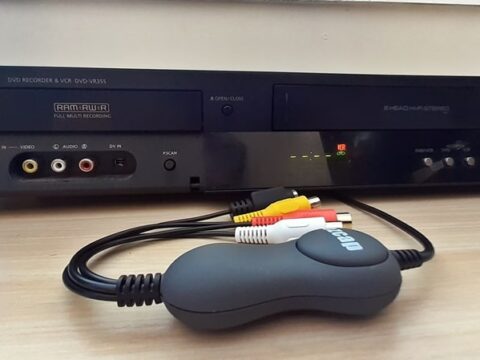
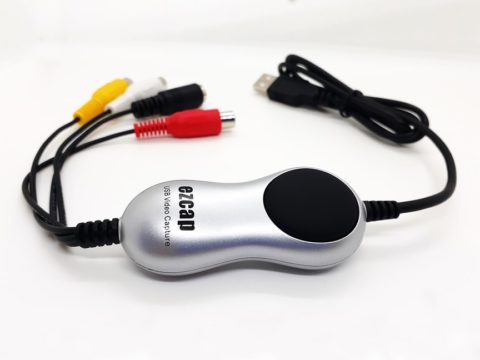
Main recording sources that can be used for old videos are the DV Camera and Analog.

By choosing the AVCHD option, you can import photos and videos from your mobile device which is great.

Using the DV capture card, Move Edit Pro will open automatically thus allowing you to operate the camera via the software.
Analog works along the same lines, but I did have some issues with certain cheaper easyCAPS not being recognized.
Media Pool/Content
Next to the Preview Monitor are three tabs which are Import,Effects and Templates.

Import – Allows you to select photos, videos and audio from various locations on your computer and keep in one Content area to use at any time.
These various media can be viewed as thumbnails or a detailed listed view.
You could simply drag files into this area if that makes life easier for you as well!
Effects Tool
Under the Effects Tab are various styles and effects that will come in handy in an easy to understand manner.

Title editing – Allows you to create a title at the start of the video.
As an example, this feature comes in handy when I’ve had to create a funeral video or even birthday videos adding the text at the start.

Various options include changing the font style, size ,color and spacing.

Movie Edit Pro Premium 2020 now displays the options as easy to read thumbnails allowing you to see what the effect does visually, thus helps users choose the right thumbnail.
Some of the more important effects would be:

Brightness/Contrast – Being able to fix an underexposed clip that has faded can be altered using this tool.

Color – This allows you to change variations like the saturation, set the white balance or manually alter the red, green blue color spectrum.
The Red Eye Removal tool only applies to a photo on the timeline, so you won’t be seeing any After Effects tricks with this software.

Speed – This tool is great for slowing down (or speeding up) footage to make clips look more natural.
I’ve mostly used this tool for Super 8 footage or slide shows where a client wants a particular clip slowed down.

ProDAD Mercalli – Allows you to stabilize footage and smooth out shaky cam.
Movie edit Pro does come with its own image stabilization but definately proDAD Mercalli 2.0 is a better option and a welcome savior to fix some unwatchable walking with the camera footage.

General Options – Gives you a plethora of one touch button effects saving you time.
Again some you may never touch (jigsaw puzzle overlay, really?)
Each of these effects can be altered using a keyframe, deciding when they will appear.
Templates Tool
The Templates tab covers a variety of transitions and pre-made editing or titles templates.

Transitions – This is going to allow you to give a professional wipe between clips. It can be overdone at times (looking at you 80’s professional weddings).
Sometimes simple cuts or cross fades is enough to just use. That being said, at least the options are there if you desire.

Title templates – This shows all the fonts that are on your computer at an easy glance.
There are opening/closing credit templates that can be edited, subtitles , timecode counters or fancier 3D titles.

Movie edit template – There is one template that can be altered to add your own footage.
Reminds me of Pinnacle Studio, that too had a template example you could edit with your own footage.

Movie looks – This gives a pre made color scheme that adds a distinct mood to your video.

Edge effects – This is ideal for those people (almost everyone) that records footage in a vertical position. By filling out the sides in a variety of unobtrusive way makes watching such videos more pleasing.

Picture in Picture – A variety of placements to show two clips together at the same time.
Timeline Workspace
The timeline has plenty of tracks to use and keep items separate (like photos and audio on different tracks).

The scrubber can be moved left or right along the track by holding the left mouse button and dragging it back or forth.

Along the top of the time line are the tools to edit a clip. They are from left to right:
UNDO/REDO – Correct any mistakes or accidents while editing.
DELETE – highlight a clip and simply delete it. Also tapping the delete button will do the same thing.
TITLE – A shortcut to the titles option.
CHAPTER FLAG – You can set where DVD chapters will begin by clicking the flag icon.
SET SNAP MARKER – Allows two objects to connect together even if you are zoomed out on the timeline.
OBJECT GRID – Similar to snap marker but can keep two objects together even if they are on two different tracks.
GROUP/UNGROUP LINKS – Allowing you to link and unlink certain tracks together as you edit.
MOUSE MODE – Option is available to use quite a few edit tools simply using the mouse cursor. Effective but I would still reccommend learning keyboard shortcuts to save time.
SPLIT – Allows you to split a clip into smaller chunks of footage.

There are options to view the timeline as full screen, thumbnails, multi track mode or multicam mode.

There is a mixer tab, if you were to use multiple audio sources or voice overs.

Right clicking on the clip in the timeline will bring up a menu of various options. Amongst those options, is being able to see the clip properties if needed.
Burning a DVD
So when you have an edited project ready for burning, you will need to click in the upper right corner on the disc icon.
This will open a new section where you can fine tune the disc of your burning choice.

In the top left corner there is the Preview button and the Edit button.

In Edit mode, you add text, change the layout of the menu image.

Along the left side are more disc edit options. The only other program that has this much options for disc editing would be DVD Styler which I did a review about earlier.

You can do simple edits in the Preview Mode. If you double left click anywhere on the sample preview, a new edit window appears.
This is going to let you add text with basic (but effective) effects like outlines and shadows.

On the right side of the window, you can change the image that appears as the menu. This makes it so much easier especially when transferring a wedding video as I can just slide the bar to the vows and use that image.
Clicking on the OK will take you to the next window.

You are able to change the speed of the burning process by clicking on the Encoder settings.

You can also change what type of media you are burning to.
Bit rate can be scaled up or down, personally I leave it as is.

Once completed the DVD will show you the menu ready to watch.
Upload Options
The Upload/Export option is probably the only let down.
For a high quality video editor, users could mistaken these export options as the only way to create a MP4 file.

If you are uploading to the internet, the options are YouTube or Vimeo. Why just these two? Where’s Facebook or other social media sites?
Maybe I’m being harsh but – try to cater to as many social media sites as possible or don’t bother wasting your time with any.
Let the user upload it by logging into their account on the internet.

Exporting to the computer gives a simplified method of mix and match between two options. You don’t have any fine tuning control of export settings.

I know I sound hypocritical claiming ‘I like editors that make the process simple‘ but for some reason I feel the export options shouldn’t be simplified.

I know what irks me the most.
Having options like this will appear dated very soon. What if 4K phones become the norm? What happens if or when HEVC format takes over?
These simple export methods don’t cater for any of that and some people may assume these are the only options.

Thankfully, there is another option for exporting files and it is more detailed thus allowing you to create the exact type of video you want.
I’d rather have full control of the exported file than let the software decide the result.
Conclusion
I’m currently using Magix Movie Edit Pro Premium as my day to day video transfer editor. It’s easy to use and understand making it a quick painless process.
Effects can be added by simply searching the icons for what is needed as opposed to previous versions which expected you to know the correct worded terms used.
If you were to use this software for exporting into simple MP4 files, I would suggest using the more advanced export options, you will definitely get a better result.
Overall I think Magix has done a great job with Movie Edit Pro Premium 2020. This is ideal for anyone who wants to capture and edit old VHS videos or even transfer your newer phone videos.