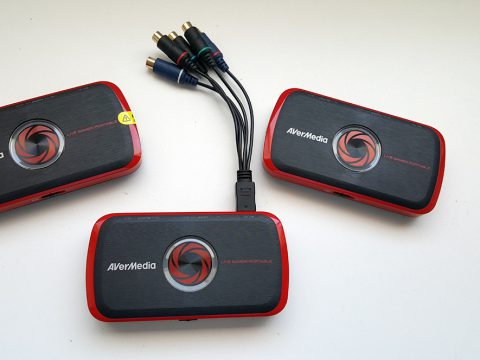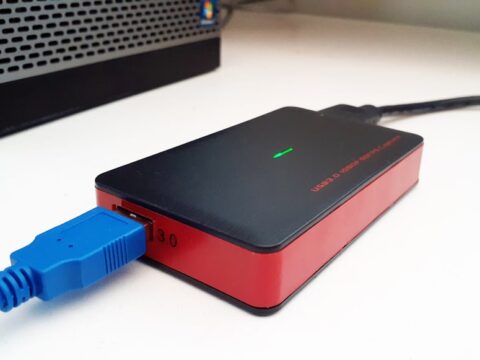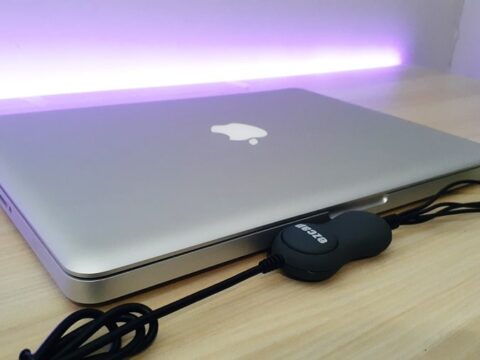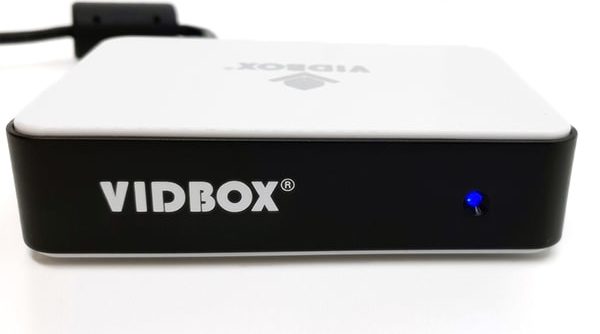
If I had one word to describe the VIDBOX Video Conversion for PC it will be small. By gosh it’s small.
Not much larger than a box of matches!
VIDBOX the company has managed to simplify a capture box and also the software that comes packaged with it.
But first if I could tell you a little story, it doesn’t feel that long ago that I reviewed the DC60 EasyCAP which came with software from Honestech. Now things have changed where the company is now just calling themselves VIDBOX.

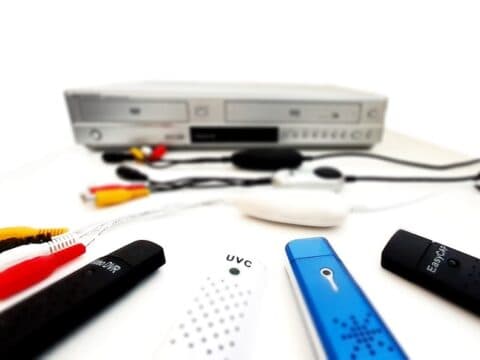
On their product page they have four products listed, and I must say, they all look the same. Packaging is different, product looks the same. I’m sure the driver software is different for each product, then again, maybe not.
These are the same products that Honestech had, not longer than a year ago.

Oh well, in the end that doesn’t reflect on this PC version of the VIDBOX.
What we have here is a video grabber capture box that makes the process of transferring VHS cassettes to MP4 or DVD a simple breeze without having to worry over any technical issues.
That’s a good thing and (as you will discover) a bad thing as well.
VIDBOX Video Conversion For PC – A Closer Inspection
The build quality of the outer shell feels sturdy, though if you were to tap with your nails along the plastic, it certainly sounds hollow.

Along the front is only the logo and a power indicator.
Underneath there a rubber feet to stop the device from sliding along a smooth surface.

Along the rear of the VIDBOX from left to right there is the S-Video and composite connections (YELLOW for video, WHITE/RED for sound). A mini USB connection for PC power and transfer of files.
VIDBOX – What’s in The Box?
For your money you get a higher quality of accessories compared to other brands I have encountered.

You will receive the contents in a neatly packaged box.

The CD comes with the drivers for your computer and the Video Conversion for PC software.

Instructions are supplied in a leaflet style quick start guide giving a brief, but clear install procedures to follow and use of the software. Multiple languages are covered.

Male to male composite cables are supplied.

Interestingly the mini USB to USB 2.0 cable is actually really great quality.
Connections
One thing that had me worried was the RCA connections felt loose. Plugging the composite cables into the device, each connector would wiggle about.

Could be a way it has been constructed? I don’t know? But I certainly don’t treat these items roughly, but I noticed I had to be gentle when connecting the RCA cables.
Could be me.

Once connected the front of the VIDBOX will light up indicating power is being supplied.
Installing The Software
Installing the drivers and software is a breeze and the quick guide has link to a downloads page if you would rather download from the internet.

Just keep following the prompts through the wizard.
You will still need to use the product key from the disc supplied though to run the software.

Notice the Powered by ht along the bottom? That’s Honestech’s logo. All their VHS to DVD software says the same thing.

While installing the software, you will be asked to plug in the VIDBOX to the PC.

Installation doesn’t take too long.

Before being allowed to commence with the software, you will need to add the product serial key.
Video Conversion for PC Walkthrough
One thing that is definitely recommended is to open the Change Input Video Standard. Why this has to be a separate program doesn’t make sense to me.
It could’ve been added to the actual video conversion software as their earlier VHS to DVD programs had these options.

A drop down window will allow you to change from NTSC, various PAL formats or SECAM.

Aha! The actual software. For this review I’m going to only cover the video transfer options.

VIDBOX conversion for PC has a sleek (and again here’s that word) simplified look about it.
There is an option that will show you How to Connect.

This is really just a diagram explaining where to find the composite connections on your chosen device.
So if you were recording from your old videos let’s get this straight. This device will record VHS,VHS-C and Video 8.

But it will not do Digital 8 or Mini DV. You get sound but no picture.

By clicking the next step you will see an option allowing you to choose the length of time the recording will take.
I think that option is pointless because the amount of times I’ve asked customers how long do you think the video goes for? There are times when they replied they weren’t sure.
It doesn’t increase or decrease quality so what’s the point?
I guess their philosophy is if you leave it running and walk away at least it will stop recording. But to be honest even if you were to do that, you should always check on what’s happening with the recording from time to time.
That’s just me though.
VIDBOX – Recorder Options
Clicking on the next step will bring you to the actual recorder.

Along the left hand side of the program is the monitor which allows you to watch the capturing and the playback. Turning the volume down does not interfere with the recording volume.
The right hand side is where you can change the file name, choose the video aspect ratio (VHS playback is in 4:3) and finally the RECORD and STOP buttons.
Once you have completed the recording, simply clicking the next arrow will bring you to the converting options.
Video Conversion for PC – Converting to MP4

Review and Publish options are straight forward.
The monitor will let you playback that digital file but you cannot edit it.
So for example, you had home videos that may be two hours long but find out after the recording it was only one hour, you’re stuck with the excess footage you don’t want.
Unless of course you want to redo and capture the tape again.

If you open the file location, a window will open where you can copy the file or rename it if desired.
The above example shows the test footage is recorded as an MPEG format at 25FPS. There is no option for frame rate to be changed in any part of the program before recording, which is a shame.
So NTSC will be 30FPS and PAL 25FPS.
That being said, if you’re transferring to DVD those are the frame rates DVD players use anyway,.

Convert to MP4 is the second option allowing you to alter the file size, but in selected increments.
So resolution can be increased and video quality selected as best and that’s all the options you will get.
Output folder can be changed to another location if you wish.

Using the test footage and converting it to MP4, I have to say the quality is decent. Just a shame again over the lack of output options.
Video Conversion for PC – Burning a DVD
Finally we have the option for burning a DVD and this is where things could certainly be improved upon.

Let me tell you now, if you have an external DVD burner (as is the case for the test PC I used for this VIDBOX review), you have to make sure that the DVD burner is plugged in before you start capturing any footage.
Why?
Because the software will not see the USB device attached if you’ve already captured a video. It has to be there before hand.
What is strange though, is that you can save the MPEG file after the capture process, but you cannot add the MPEG file later if you want to burn to a DVD at a different time.
It has to be done all in the one sitting. Kind of an inconvenience.
But if you have the time and maybe you are only transferring one cassette every few days or one a day then yes the VIDBOX is an ideal solution.

Looking at the DVD bitrate we can see the final DVD is at an acceptable 4914kbps.
Conclusion

So do I like it?
Yes I do.
It has some quirks that can be worked around, but as far as converting VHS tapes in a simple manner the VIDBOX Video Conversion for PC is a great little product.
I like the fact that you can convert to MP4 with ease and keep that as a second file alongside the captured MPEG file.

