While I’m an advocate for paid software and the benefits they offer, I also understand that not everybody wants (or needs) all the unnecessary bells and whistles that come with paid burning software.
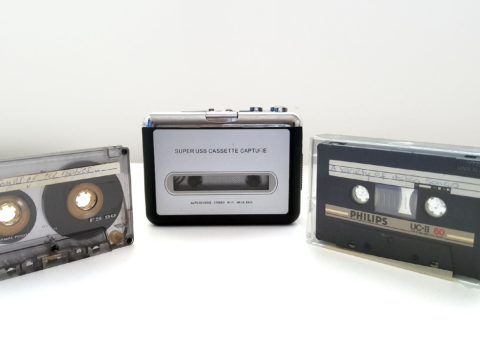
As more modern devices don’t rely on DVD players at all and we move forward in a world of streaming, if you are digitizing you’re old home movies strictly to disc and you are looking for a free, simple to use, burning software then DVD Styler has you covered.
Visiting dvdstyler.org, you will have access to downloading their software via the large green button icon.

Along the left hand side there is a Downloads option which opens a new page with Mac, Linux or even Windows 32bit versions.
Both the green button or the Downloads link will take you to the same web page.
Installing DVD Styler
Installing is a piece of cake, thankfully not having useless freeware options as it progresses.

After choosing which version you will be need, you will be taken to fosshub.com (which will be the direct link to DVD Styler).
Click on the version type to download the software.
Once complete, simply run the application to install the software.

The above example is using the PC 64bit version.
Choose where you want the software to install. Otherwise leave it alone so the default installation folder is chosen.

You will be asked if you want to create a desktop shortcut. I do this by default, I still forget to use the search option in Windows 10.

Once complete you will be able to launch the program straight away.
It’s great to see a free software that actually wants to help the end user and not try to push the ‘want fries with your freeware?’
DVD Styler Walkthrough
DVDStyler doesn’t try to be fancy with its interface. Everything is plain and functional, just the way it should be.

Every time you open the application you will be greeted with this Welcome window.
The drop down options will let you create various sized discs. Most popular option is the 4.7GB file DVDs.
For this example that is what I have chosen.

Having a closer inspection, the window offers everything that needs to be decided upon for the DVD as apposed to other software that chooses the burning options at the end.
This really is just a personal preference, but I can see DVD Styler making you complete the details first help you decide what you will put on the disc.

Along the top, you can edit the disc label giving it the name you desire.
You can alter the Video bitrate and Audio bitrate.

The lower section will ask you what region the DVD will be.
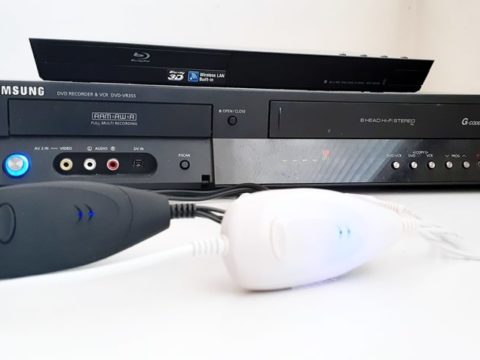
Aspect ratio would stay as 4:3 if you were using old VHS tapes or 16:9 if you were transferring more modern phone videos (that’s on the assumption you recorded the files in landscape mode).
Audio format can be switched between stereo mp2 or surround sound AC3.
Click OK when you are finished.

You will then be prompted if you want a DVD home screen layout.
There’s an amazing amount of layouts that can be edited.
Choose the No template if that is not important to you.

One thing I want to mention is that along the top there is a Configuration menu option.
Selecting Configuration then Settings will bring up the above window allowing to change any key settings.

This includes altering commands from the software itself. I haven’t altered those settings as I don’t need to for the burning I do.
DVD Styler Layout
So what if you did want a menu? DVD Styler will let you create a very complex or very basic type of menu, it’s up to you.
There are advantages of having menus that break up into chapters especially for weddings, as they make searching for a particular moment easier to find.

Along the left hand side there are three tabs:
File Extension – Lets you add an image from your computer, whether that be a background layout or PNG files to add over the top.
Backgrounds – Allows you to use the supplied backgrounds.
Buttons – are various PNG images to add for the end user to move around on screen.

You can simply drag an icon onto any area of the background by holding down the left mouse button.
Resizing an icon can be done simply by clicking on said icon (a red frame will indicate it has been selected) and then stretching it out by any of the four corners.
This enlarging or shrinking of the icons only works on the image icons. If you were to do this to the word buttons they will not enlarge.

Also of note, you can duplicate icons that are on the background by holding down CTRL and left mouse click while dragging the icon to create the new icon.
This trick will work for any of the buttons you add to the background layout.

If you double left click on a chosen icon a new window will open allowing you to edit the properties and functions.
If you are creating a simple DVD the default settings will be just fine.
DVD Styler Buttons

The word icons can be added by dragging from the side bar.
Again, double clicking on the button icon will allow you to edit the properties.
You can change the location on the screen the word will appear, but you can do that by dragging it around the screen at any time as well.
To alter the text size, you will need to click on the word Font along the right hand side.
This will open a new window allowing you to change the font type, font style and size.
Right clicking on any icon (or button) will allow you to choose what icons stay in front of others.
Basically you would need a very complex looking menu set up with multiple layers in order to get the best out of such a tool.
But it’s there if the need was to arrive.
DVD Styler – Burning a File
One of the stand out features of DVD Styler is it’s burn function.
Finally a free piece of software that will accept MP4 formats and not just TS_FILE.
DVD Styler accepted all files I added except for 3GP.
I know no-one uses that kind of file, but I still got to see if it’s accepted!

There are two methods to copy a video file. One way is to drag the footage to the bottom menu along the bottom.
The second way is to click on the icon of the film with the green plus symbol along the top of the program.

Clicking on the red burn symbol at the top will open a new window allowing you to change the burn speed and temp folder or if you wish to create an iso image.

The program will take some time to encode the file (or files). This will vary depending on the time length of your original footage; keeping in mind two hours is the reccomendation for DVD length.

Once completed DVD Styler will spit out the disc.
The Results

With the disc inserted, the menu setup will be displayed. For the test I didn’t bother creating a complex menu.

Playback ran fine without any skips.
You wouldn’t have issues with DVD players reading the disc.

Looking into the properties of the DVD disc, we can see the bitrate stayed at 8000kbps which is great.
Something you should note with this example, the original file was at 12000kbps, so dropping to 8000kbps is not too much of a loss.
You couldn’t take a video that was for example 4000kbps, burn it to DVD at 8000 kbps and expect the quality to be magically superior.
It doesn’t work like that.
Conclusion
I love this program. I love the fact that I can take videos from a modern phone and easily burn them to a DVD.
The menu can be tinkered with to the nth degree, but whether you would is really down to your preference and patience.
DVD Styler is a fantastic free software, hidden out there in the wild internet west. The fact that it can burn a large variety of formats makes it a worthy download, especially if you are burning home videos to DVD for relatives or friends.