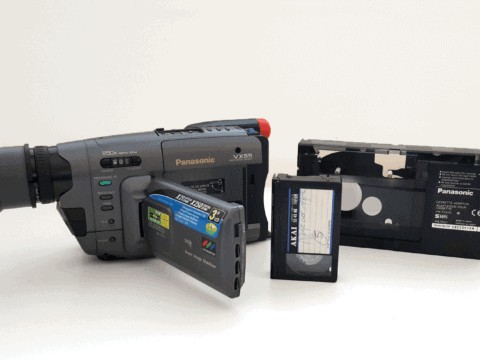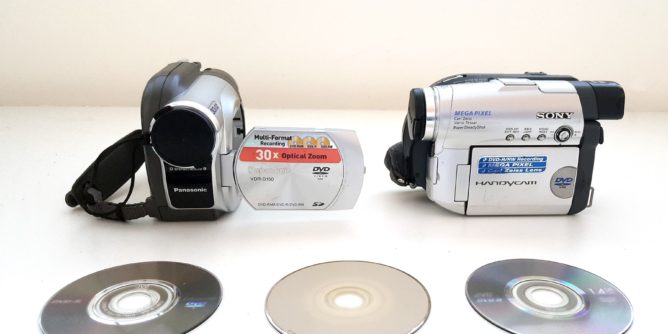
DVD camcorders are a disc based camcorder that recorded on 1.4GB discs. My personal experience with video transfers, I haven’t received that many DVD-R discs to transfer.
Most people probably kept them on the discs assuming they are safe.
Let’s take a look at transferring DVD camcorder discs to digital.
Each brand has their menu and dials placed in different areas but the main functions are the same.

Making sure the camera is on, have the camera set to VIDEO PLAY BACK.


Open the disc door and place the DVD inside.

Give the camera time to read the disc

Where it will show thumbnails of all recorded clips on that DVD disc. THis example only shows three videos.

Also of note is that the camera will be able to read the disc, this doesn’t mean that DVD player will be able to. You will need to finalize the disc.
Something to keep in mind is that these mini DVDs can get scratched and become unreadable very quickly.
Finalizing the DVD Camcorder

On the camera, first find the menu button.

The menu options may look different depending on DVD camcorder you own.
Move the cursor down to the word SETUP then press enter.

Next move the cursor down to FINALIZE and push enter. This is going to make the DVD disc readable on computers, DVD players.

You won’t be able to add to the disc unless you place it back into the camera and UN-FINALIZE the DVD. I don’t recommend that.

Move the cursor over to the word YES.

The camera will check if you definitely wish to do this.


Just wait for the process to finish. It may take up to ten minutes depending on how full the disc is.

Once finished the disc will show all the chapters that are on the mini DVD for playback.

If the disc is corrupted or dirty/scratched, the finalizing can fail.
I have found in some cases is the disc can still be played through the camera but certainly not through other devices.
Playback of the Videos

For this camera there are two front connection ports.
The left side is the AV connector and the right side is for a mini USB cable to connect to your computer.
This is by far the quickest and easiest method to copy video files.

Connect the USB cable to the camera and the other end into an available USB port on your computer.
The computer will recognize the DVD Camcorder as a separate drive .

If you select PLAY the DVD Camcorder will open its own software allowing you to play the disc chapters and watch on your PC.

The software won’t be anything to write home about but it certainly does the job.

Further options allow these kinds of software to read all the video files and music files on your computer as a default player.
Copying the Video Files

So what about if we want to copy the video files onto our computer? That can be done easily as well.
From the computer home screen, RIGHT CLICK on the drive letter that is the DVD Camcorder and select OPEN.

Inside the new folder you will see the video chapter files. I usually change the view by type. This makes it easier to find the video files.

Comparing the ASUS DVD software and the open folder we can see which files are the actual video clips.
Highlight the clips you want to copy and paste those videos into a new folder onto the computer.

Depending on your computer this could take some time.

By copying the files to a computer makes it so much easier to create a any type of DVD you want.
If you are interested in creating DVDs I have a walk through explaining transferring the digital files into a DVD.