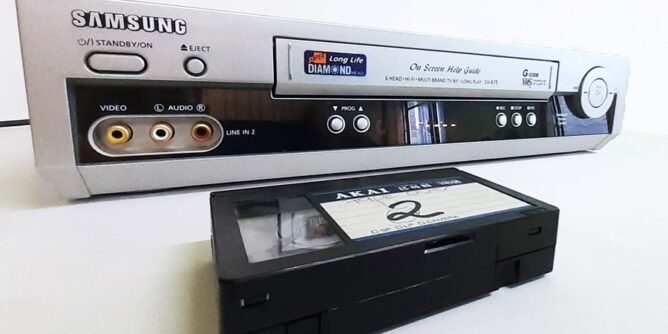
If you have found yourself recently rummaging through old storage boxes and maybe discover VHS-C video tapes just sitting in there gathering dust, I bet you probably thought I should get those digitized somehow.
But exactly how? How could I transfer VHS-C to MP4?
You can easily find a business that will convert the cassettes for you for a fee.
But if you have, say for example, fifty tapes or more that can cost a pretty penny.
And by pretty penny I mean an ugly amount of money!

What it would boil down to is money or time? Which is more important to you?
For the sake of this article I’m going to assume you have the time to transfer your home videos and would like to know what you will need to convert the VHS-C tapes to an MP4 format.
Can You Swap VHS-C Tape Into a VHS Case?
Short answer.
Yes.
But a longer, technical answer would be: if you are willing to unscrew the VHS-C tapes and splice them onto a full size cassette and replace the VHS outer shell back together.

On one hand you could lose precious memories if you are not very careful with this procedure, but on the other hand you save yourself $40 – $60 not buying an adapter.

As you can see in the example above, the tape will splice to the full size VHS spindle

In order for this to truly work you would need to splice the tape onto the VHS spindle/ replace the screws on the VHS shell/ place the cassette into the VCR and fast forward to the end.
Then – take the cassette out and unscrew the shell/ splice the remaining side to a new VHS spindle/ screw it back together.

Just remember, if you decide to go this route, there’s literally no going back.
Seriously, you won’t be able to rewind the VHS-C tape because there’s no tension to pull it back. The tape can only go one way – forward.

On the plus side this trick will work. Certainly will be the most time consuming method though.

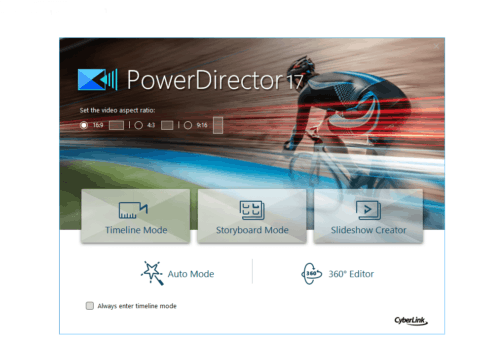
I used Magix Video editor to do the sample capture.
The VHS-C spindle will sit in place but it is not secured at all. You have to be gentle or else it will rattle around.
Let’s be honest, someone back in the 70’s must’ve tried this concept just to see what happened.
Convert VHS-C Using a Camcorder
Transferring via a camcorder can be an easy alternative if you still own one.

If you don’t own a camcorder anymore, you can still get access to cheap second hand models on eBay Other options to search could be on Facebook Marketplace or Craigslist.
Are there any models better than others? If I had to choose I would be going for Panasonic or JVC.
There are other brands out there but that’s just me.

Advantages of transferring a VHS-C tape by a camcorder would strictly be not having to use an adapter. The camcorder plays back the tape the same way a VCR does.
An earlier post I wrote will show you the connections of the VHS-C camcorder.
Disadvantages of transferring your tapes using a VHS-C camcorder are mainly tape jams.
If you have old moldy tapes and you run them through a camcorder, there’s a possible chance they can tangle up inside the camcorder.
While it is possible to save the tape, it will drive you insane trying to get to it.
Buying a second hand model can also feel like a risky purchase.
If you already own a camcorder that recorded the original VHS-C tapes then you won’t need to use a VCR at all, as you will be able to connect directly to a capture card.

Personally I never use the VHS-C camcorder (it’s really for that absolute emergency case) which I’ve never encountered.
Any jams that I’ve encountered, it’s always been easier to lift the top off a VCR and fix it.
But choosing the VCR method brings us to needing an adapter.
VHS-C Adapter
Chances are if you have VHS-C tapes then you already have a VHS-C adapter.

Using the adapter makes the whole process easier than any other options mentioned.

There are certainly quite a few brands on Amazon right now. Are some products better than others?
Unfortunately yes, I’ve had some adapters not close for god knows whatever reason!
The video above shows what can happen when trying to repair just the adapter. Spoiler – he gives up.
Another killer of these adapters that I’ve encountered is the battery leaking, which of course is going to happen after twenty odd years left in a box.
Ninety Nine percent of the time I never have trouble but I have encountered tapes that appear to catch on edges of the adapter for some odd reason.

The VHS-C cassette will usually slide into place straight down without issues. That being said (always a catch) some tapes may need a gentle nudge or wiggle to make them slip into place.
If you complete transferring your tapes to a digital format you can easily sell the adapter on eBay or Facebook and make some money back.
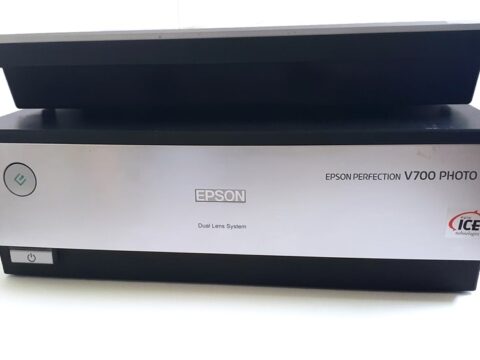
Cheap Capture Card For VHS
Next we have the choice of a capture card.
I have a post that shows 17 different capture devices that can be used to transfer your home videos.
The choice is yours on how much you are willing to spend.
If you are trying to make your transfers as cheap as possible you will still need to spend some money on the capture card.
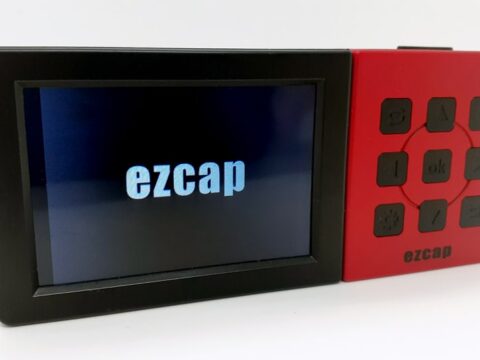
With so many cheap Chinese brands using EASY in their name somewhere, it’s hard to know what is real and what is a knockoff.
The proper ezcap website will show you all their products that they manufacture for capture.

The analogue capture card list shows (at time of writing) a list of four USB capture devices.
If I had to choose out of those I’d pick the ezcap116 which I’ve done a review on. (At the time of that review I had purchased it under the assumption it was called the ezcap170).

The white model in the picture is the ezcap1568 which may still be available on eBay.
The ezcap 116 and this ezcap 1568 use the same software to capture to MP4, making this easier for you to convert.
That being said, if you have an editor already it may recognize the capture card (once plugged in) and let you capture directly to the editor.
The software is on CD which these days might appear outdated (certainly in computer generations).
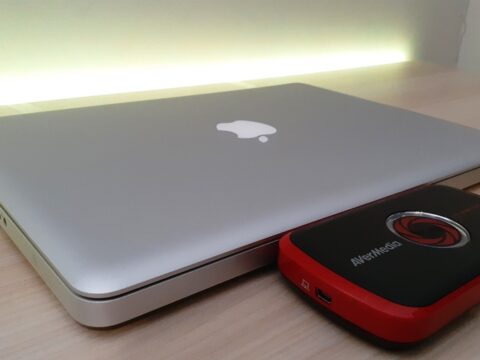
My Laptop Doesn’t Have a DVD Slot
Ezcap’s website has a support/download page for downloading drivers and software.
Just thought I’d mention, both the ezcap 116 and ezcap 1568 never had issues when I used with Windows 7,8.1 or 10.
The driver will be called the ezcap video grabber.
If you are using an antivirus software, there is a possibility it could block the USB driver install.
I use to work for Canon Australia at their help desk for printers and scanners. A great percentage of problems with installs had to do with antivirus software just blocking ports and stopping anything from working.
All this to protect your computer from the big bad internet.

You’re still going to need the serial number (on the CD packet) for the Arcsoft ShowBiz software during the installation.
ArcSoft ShowBiz Quick Walkthrough
The home screen of the ArcSoft ShowBiz software is easy to follow with only two areas of interest for us.
The Capture tab for recording the VHS-C tapes and Create File option for exporting to MP4.

If you have no interest in editing the footage or uploading it to the internet then the other ArcSoft ShowBiz options will be of no interest.

The capture button is in the lower left area below the preview window. Before you do begin to capture anything, it will be worth your time to change the settings for the footage.
On the upper left hand side there is an option called device settings.
Inside here you will have a choice if your VCR is from a NTSC or PAL source.

You will notice the driver is shown as ezcap Video Grabber. Both recommended capture devices I spoke of (the ezcap116 and ezcap1568) use the same driver.
Exporting Your Footage to MP4
Under the Produce tab, simply click the Create File button.

The Edit Settings window will pop up and offers a wide variety of encoding options.

Video resolution can be scaled up to 1920×1080 and the video Bit Rate increased to 25mbps (that’s a large file in layman’s terms)
When you’re happy with your chosen settings, click on the start button.

Exporting can vary on your computer and how beefy it is. For a 45 minute recorded tape my export was about twenty minutes.

Using this image above as an example, something to remember when scaling a video to a higher size (like 1280×720) – the black borders you see on either side of the edges are part of the new enlarged size.
And because most devices we use in a daily life (phones, TVs) are all wide screen, you will end up with black borders on either end.

File size – a 45 minute video stands at 3.3GB.
Something that you might want to consider is downloading VLC media player to play videos that you convert.
It’s available for every platform and it plays everything. Simply amazing software.
Conclusion
Transferring your VHS-C tapes to MP4 doesn’t have to be complicated and it really boils down to how you want to spend the time converting the tapes yourself.
Myself I go with the adapter.